DPD normal-schedule estimates · Standard: Thu 29 Oct · Highlands: Wed 4 Nov
Subject to postcode coverage, holidays and availability. Islands or date-critical orders: contact us.

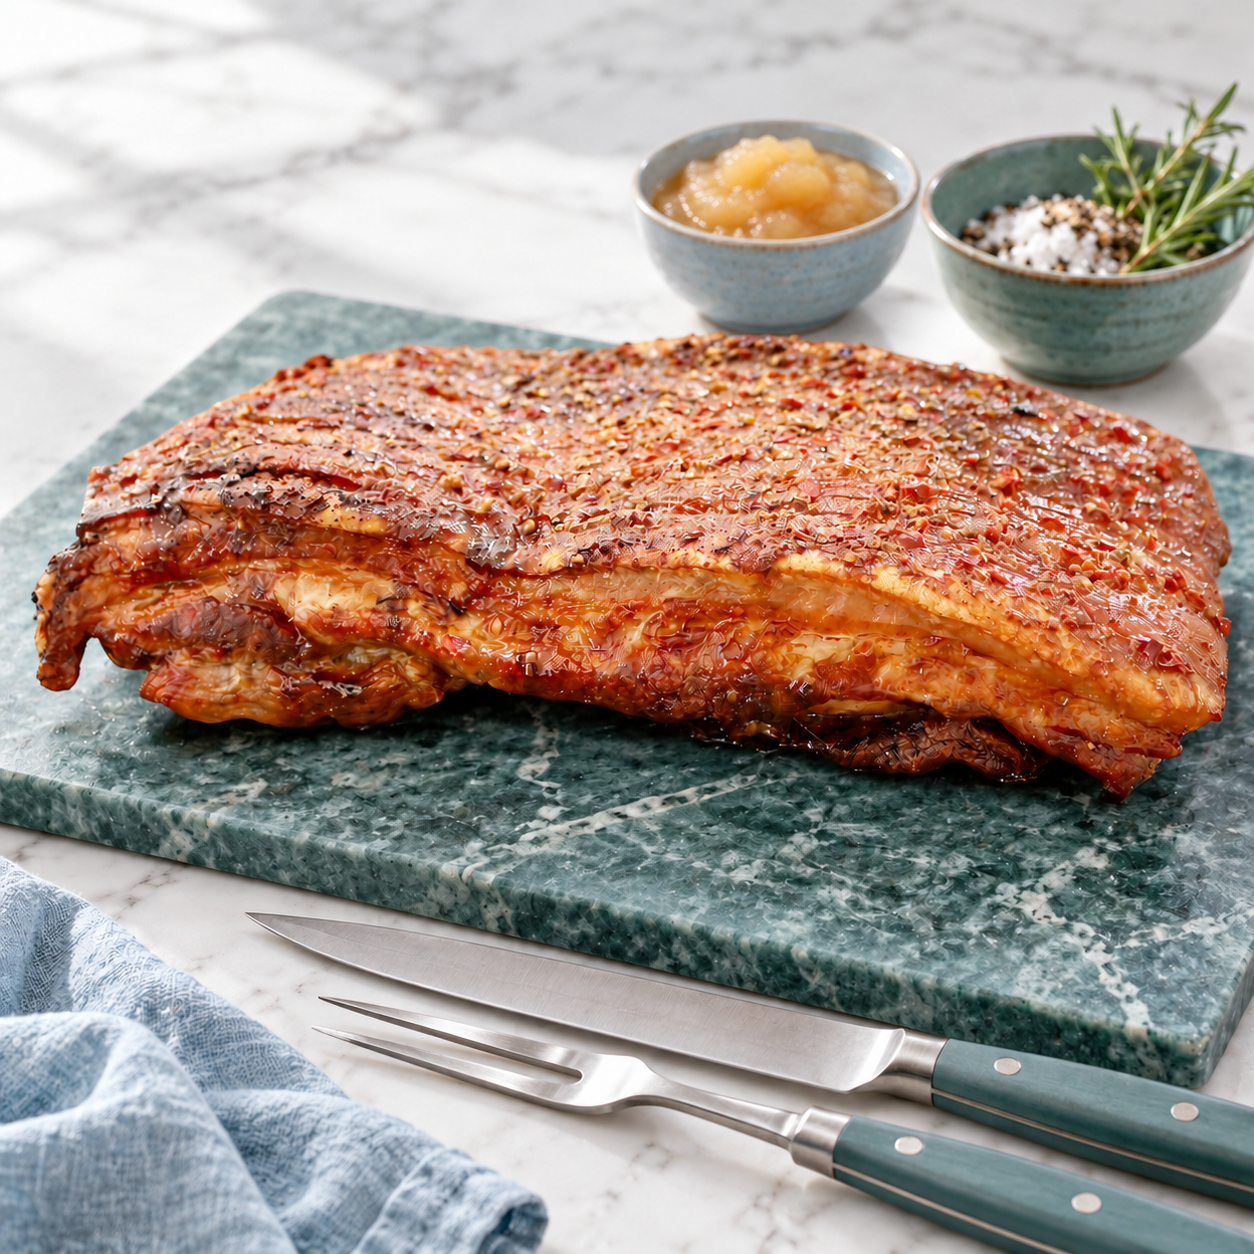
The Sunday Roast, Sorted
A good Sunday roast is as much about the rhythm of the kitchen as the joint itself: potatoes turning golden, gravy bubbling gently, and everyone drifting towards the table. A little planning makes that last half-hour much calmer.
Here’s our guide to choosing your joint, getting the trimmings right and bringing everything together. Use the actual weight on your meat’s label and follow its cooking instructions or a reliable recipe written for that cut. A brisket needs a very different approach from a rack of lamb.
1. Choose the roast to suit your day
For an unhurried afternoon: pork belly, pork shoulder and beef brisket reward slow cooking. Belly and shoulder are lovely roasted; brisket is especially forgiving when gently braised with stock, onions and a tightly fitting lid.
For a classic carving joint: a whole leg of lamb or bone-in rib of beef makes a generous centrepiece. Think rosemary and garlic with lamb, Yorkshire puddings and horseradish with beef.
For a smaller table: a 1.5kg whole chicken or 500g rack of lamb offers a different scale of Sunday meal. A gammon joint is another versatile choice, especially if you enjoy cold slices the following day.
Choose the size for your appetite, guests and planned leftovers. Bone-in weights include the bone, so equal-weight joints do not necessarily yield the same number of servings.
2. Work backwards from the table
Decide when you would like to eat. From that time, work backwards through carving, resting and cooking, then add time to preheat the oven and prepare the joint. Keep the pack or recipe beside you and set a reminder to check progress before the expected finishing time.
Write down three things: when the meat goes in, when the potatoes go in, and when the meat should be ready to rest. If the joint needs longer, let that determine the meal time. A thermometer and the meat’s tenderness matter more than a rigid schedule.
3. Give pork crackling a good start
• Choose a rind-on joint if you want crackling, and ask your butcher to score the rind. Cuts should go through the skin and fat without deeply cutting the meat.
• Pat the skin thoroughly dry with kitchen paper. If preparing ahead, keep the joint refrigerated in a tray on the bottom shelf, safely away from ready-to-eat food.
• Just before cooking, rub salt evenly into the scored skin. Season the underside with your chosen herbs or spices.
• Keep the skin facing upwards and above any cooking liquid. Follow a pork-belly or shoulder recipe matched to the joint’s weight, including its hotter crackling stage. Watch closely during the final high heat.
If the joint is tender before the crackling is ready, a recipe may allow you to remove the rind and crisp it separately. Keep an eye on it: golden can become burnt surprisingly quickly. Don’t tightly wrap crisp crackling in foil, which traps steam and softens it.
4. Build proper roast potatoes
Choose a floury potato such as Maris Piper or King Edward, peel if preferred, and cut into similar-sized pieces. Parboil until the outsides begin to soften while the centres still hold together. Drain well, allow the steam to escape, then gently shake the pan to roughen the edges.
Carefully add to a preheated roasting tray with hot oil or fat, turning to coat. Leave room between the pieces rather than crowding the tray. Roast according to your potato recipe, turning as needed, until golden outside and soft inside. If the meat cooks at a low temperature, use a second oven or plan the potatoes’ final crisping stage around the meat’s rest.
5. Let the vegetables earn their place
Roast firm vegetables such as carrots and parsnips in evenly sized pieces, with a little oil and your chosen seasoning. Keep softer vegetables and leafy greens for later so they retain some bite. Use separate trays where vegetables need different cooking times.
Our Mixed Seasonal Veg Box changes with availability. Plan the sides around what arrives rather than expecting a fixed contents list: roasted roots, buttery greens or a simple mash can all sit happily beside the main joint.
6. Check, then rest
Use a clean food thermometer in the thickest part, avoiding bone. Pork and poultry must be cooked through; the Food Standards Agency gives 70°C held for two minutes, or 75°C for 30 seconds, as safe core-temperature combinations. Clean the probe after use. Colour alone is not a reliable check.
For beef and lamb, follow guidance appropriate to the joint and its preparation. Rolled, stuffed or mechanically tenderised meat needs thorough cooking throughout. A rare centre is not suitable for every joint or every diner.
Slow-cooked belly, shoulder and brisket also need time to become tender; reaching a safe temperature does not by itself mean they are ready to pull or slice easily.
Rest the cooked meat on a clean board or platter for the time recommended by your recipe. Keep the juices for the gravy and cover loosely where appropriate, leaving pork crackling exposed. Use this interval to finish the vegetables, warm the plates and organise the carving knife.
7. Turn the roasting juices into gravy
Pour the juices into a jug and allow excess fat to rise. Spoon most of it off, keeping a little if you want to make a flour-thickened gravy. If the roasting tin is hob-safe, loosen the browned bits with stock over gentle heat; otherwise transfer them to a saucepan.
For a thicker gravy, cook a little flour in the retained fat before gradually whisking in stock. Add the resting juices, simmer and taste before adding salt. Gammon juices and some stocks can already be salty. Strain if you like a smooth finish.
Your last half-hour, made easier
• When the meat is ready: check it is safely cooked and tender, then begin its recipe’s resting period.
• During the rest: finish the roast potatoes and roots, make the gravy and warm the plates.
• Just before serving: cook or finish the greens, transfer sides to warm dishes and carve the meat across the grain where practical.
• At the table: pass the gravy and enjoy the meal while it is hot.
These are stages to coordinate, not fixed timings for every joint. Large joints and slow-cooked cuts may need substantially more time; adjust around the food rather than rushing it.
Make tomorrow’s lunch easy too
Cool leftovers promptly and refrigerate within two hours. Eat within 48 hours or freeze. Reheat only once, until steaming hot throughout. Thinly sliced meat makes lovely sandwiches; leftover vegetables can become a hearty soup.
Ready to plan your next roast? Start with our British Pork Belly Joint
https://www.malpasfarmshop.co.uk/product-page/belly-pork-joint-pick-your-weight
, browse the Roast Joint Box
https://www.malpasfarmshop.co.uk/product-page/roast-joint-box-choose-small-or-large
, or add a Mixed Seasonal Veg Box
https://www.malpasfarmshop.co.uk/product-page/mixed-seasonal-veg-box
to complete the table.
Food-safety reference: Food Standards Agency — Cooking your food
https://www.food.gov.uk/safety-hygiene/cooking-your-food
. Always follow the instructions supplied with your products.